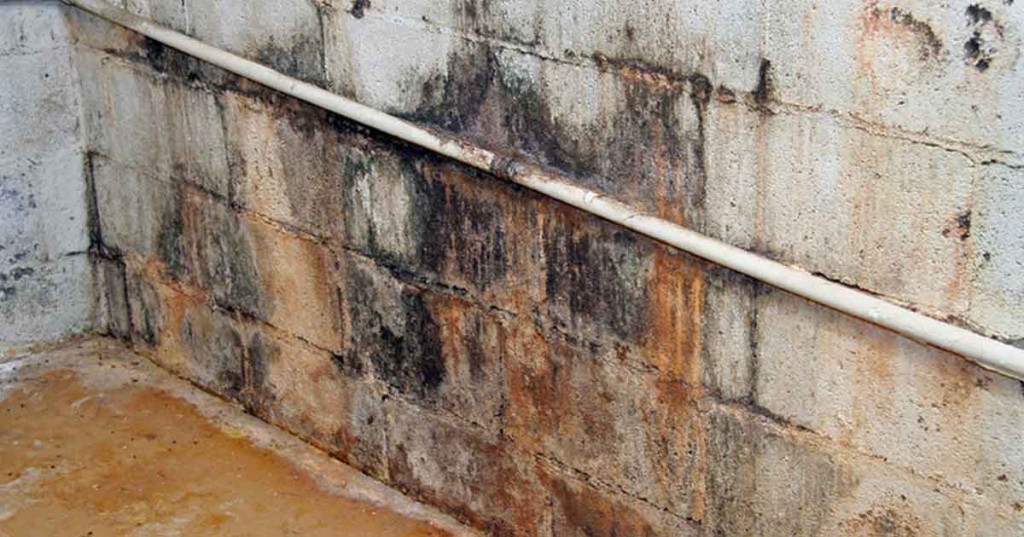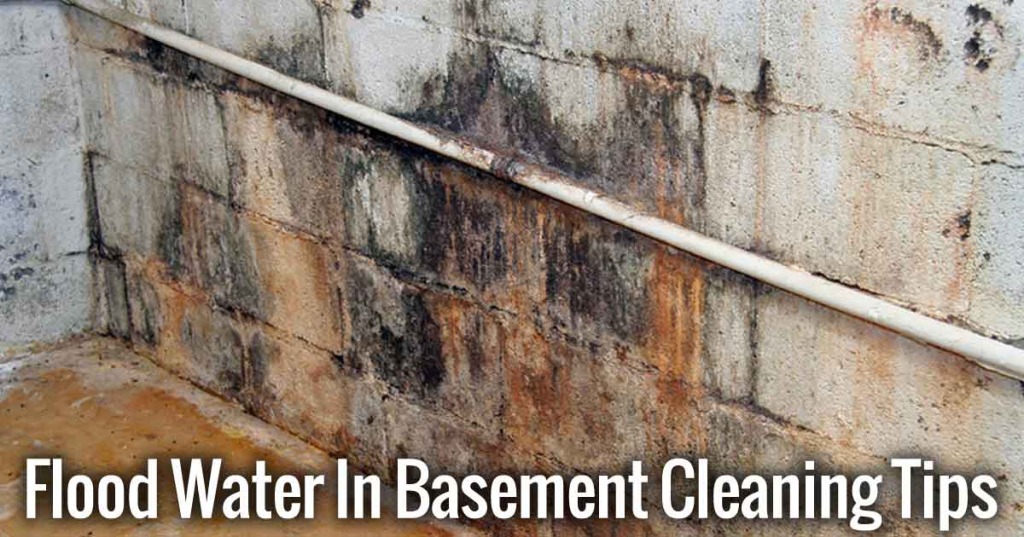
A flooded basement can be a difficult mess to clean up. Having faced my own basement flooding clean up, I know that air quality may not be the first thing on your mind as you watch with horror as the tide of water keeps rising. Unless you remove all the contaminated items from your home or basement immediately, and reduce the moisture and humidity levels in your home, you run the risk of developing a “sick home” which can put the health of your family at risk. Getting rid of standing water is the first step of basement flooding cleanup and soggy building materials are all prime breeding grounds for mold, viruses and bacteria. With prompt action you can remove the water in basement and restore your house to be a healthy living environment again.
Steps for Flooded Basement Clean Up
STEP 1: Unplug and Turn Off Anything Electrical
Ideally, if you can simply turn off the electricity at a breaker box to that part of the house, that is the best option. It is also the safest option before you go into the flooded basement. If you’re lucky enough to be at home while the water rising and you can’t stop it, it’s best to unplug anything in the affected areas to help with damage. Combining electricity and water is very dangerous and if you’re at all concerned about loose wires in a flooded basement it’s best to call a professional if there’s standing water.
STEP 2: Remove the Standing Water in Basement
All the water in the basement should be removed as soon as possible with the use of pumps. Also, consider opening your windows wherever appropriate. Standing water in a basement can be a breeding ground for microorganisms. Once they become airborne, you’re more likely to inhale them. Flood water often contains sewage and although it pains me to say it, even the rotted matter from drowned animals. Even plain rainwater can cause an allergic reaction in some individuals. So get started on your flooded basement cleanup as soon as you can, get rid of that water in your basement fast. See Our Hurricane Flood solutions for flood restoration and water damage products to remove moisture and prevent mold.
STEP 3: Dry Out Your Home
Excessive moisture in your home can quickly become an indoor air quality problem for a number of reasons:
- The microorganisms that have been brought into your home from water in a basement will have now penetrated porous building materials, flooring and furniture where they can be later released into the air. Breathing in these microorganisms can make you extremely sick.
- High humidity is a breeding ground for mold which causes a severe allergic reaction in a very significant percentage of the population. Some molds are more dangerous than others and you can always test later for their presence with a mold test kit. We hope that you would be taking fast action, but delays in drying out your home will make it far more susceptible to be a breeding ground for dust mites which flourish in warm, humid environments. Dust mites are a major irritant for those with asthma or allergies.
- Care should be taken to open dry walls to above the water line and remove all soggy insulation; ceilings should be opened up in the same way. In other words, any part of your home’s structure that has been in contact with water should be removed as a precaution.
Test Kits for Dust Mites, Mold and Allergens
The process of drying out your home can take several weeks, so you need to be patient; otherwise you may be left with a musty smell or even worse. Air blowers and high capacity dehumidifiers can be extremely useful in speeding up the drying process.
STEP 4: Remove Wet, Damp and Contaminated Materials
This can be very difficult part of flooded basement clean up, especially with emotional items like photographs or books which have sentimental value. The rule of thumb is if it isn’t fully dried and cleaned within 48 hours, you are truly better off throwing the item out. I recommend carpets be always thrown out, but area rugs or bedding can be washed and dried or dry cleaned for restoration. If you do not make yourself do this, you run the risk for microbial contamination. Personally I tried throwing out the carpets first and then worked my way toward throwing out the stuff I lost.
STEP 5: Repairing Your Home
Building materials take a long time to dry out and we prefer to err on the side of caution and suggest it is simply safer to remove them to avoid later air quality problems.
The EPA has more information on mold prevention and water in basement cleanup
STEP 6: Exercise Caution when Using Household Cleaners and Disinfectants
Most household disinfectants, cleaners and bleach are highly toxic and if you have to use them, wear gloves and a mask. You need to disinfect and sanitize everything including, floors, ceilings, walls and shelving. A far superior, faster and non-toxic method for handling your clean up is to use a higher-end dry vapor steam cleaner such as a Ladybug with TANCS. I know this sounds counter intuitive but TANCS is a registered EPA disinfectant and the kill rate is simply phenomenal. A really good steam cleaner can cut days off your clean up and make sure that what’s left is not a source of future contamination.
STEP 7: Notes of extra caution
Do not use an outdoor generator or outdoor grill as some way to hurry up the drying process. This will be just a quick road to carbon dioxide poisoning. If lead paint or asbestos coverings have been disturbed, more likely in an older home, then you will need to go to an extra level of decontamination as both these substances are highly toxic.
STEP 8: Air Purification
It is highly likely that during the clean up process and for some time to come afterwards, allergens and bacteria are kicked up into your breathing environment. This is where a good quality air purifier is invaluable.
Additional Information can be obtained from
FEMA website on floods/flooding
EPA’s website on natural disasters: Flooding
The Federal Emergency Management Agency’s Flood website
Centers for Disease Control (CDC) Key Facts About Hurricane Recovery

